Texturing, choosing textures and texturing using spotlight
When the objects seemed to be ready I began the process of texturing using spotlight tool in Zbrush. Of course, I knew that even texturing some changes might appear but they wouldn’t be crucial. Thanks to quick texturing using spotlight I wasn’t afraid of that. Being able to manipulate the textures using spotlight I was able to keep the control and have the ability to implement quick changes, even after changing the geometry.
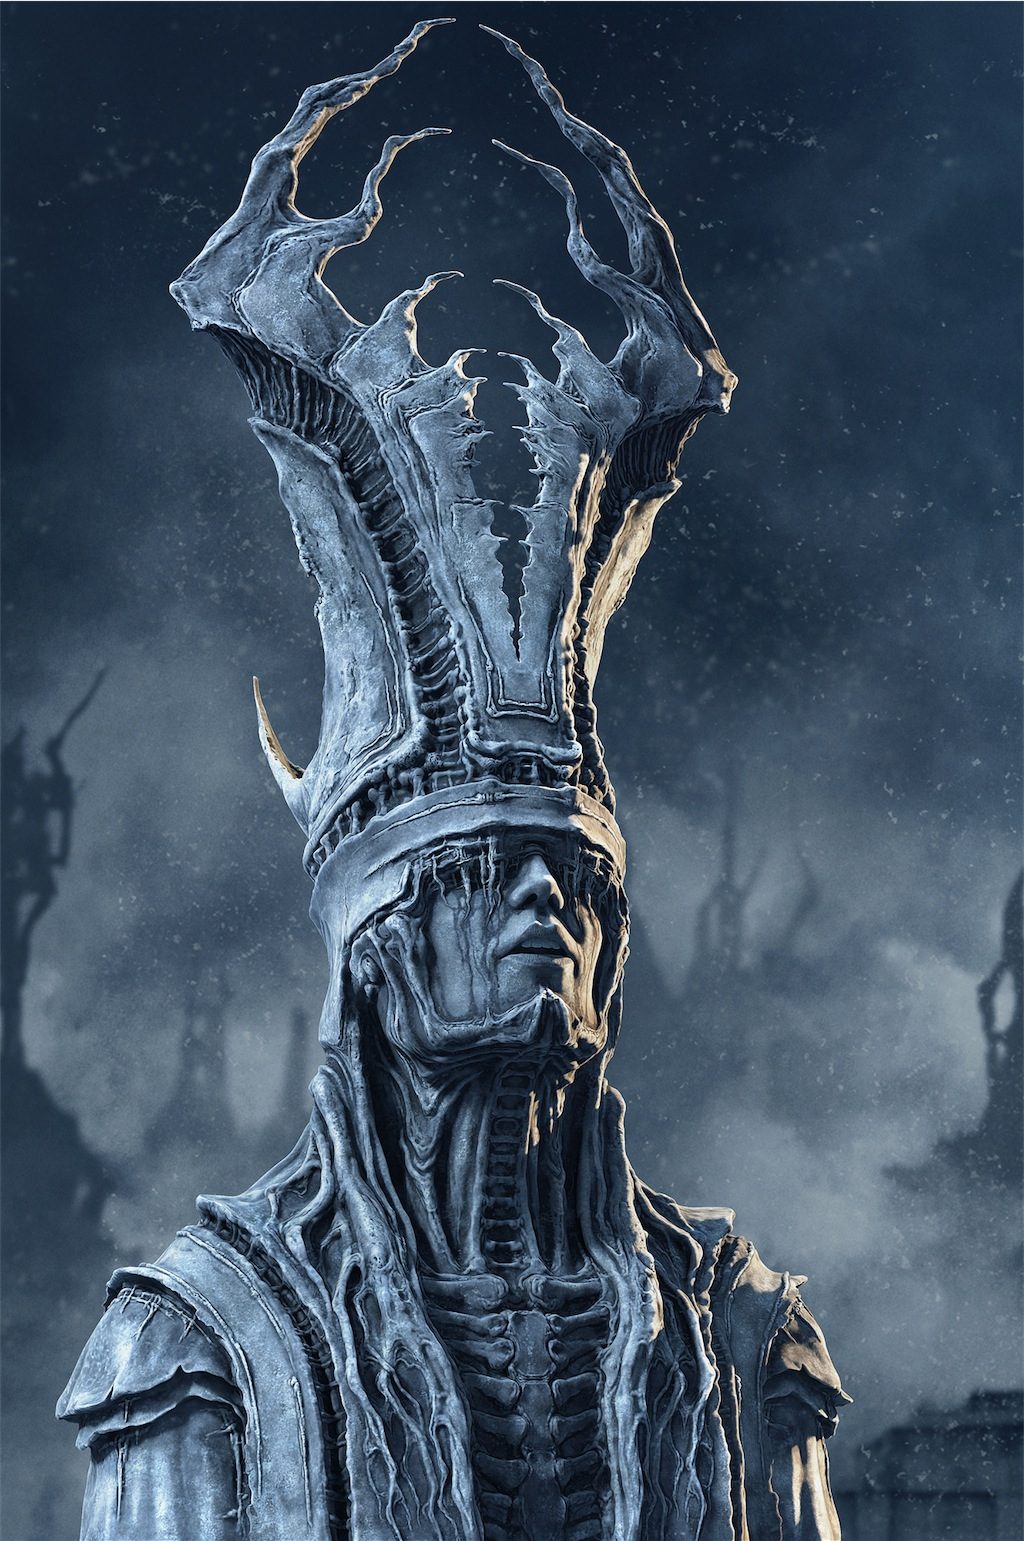
 The objects after texturing. Even in further stages some changes or corrections appeared and it was not a problem for me. Painting directly on the objects I knew what it looks like on the whole and was able to see where it was too dark or too bright, where the texture has too many details and is contrasted too much, and where the number of details or amount of contrast is not enough. I wanted to make the scene as attractive as possible using texturing and be careful not to worsen the final effect because of too strong textures. It is sometimes the case that clear lighted objects with added only, for example ambient occlusion, look very nice, and after texturing and implementing effects they lose their charm. Therefore, I think that texturing of complicated scenes and objects need a lot of attention and also intuition. Texturing, in other words painting an object already put in a scene, on the other hand, is a great way to controlling that process and emphasizing the most attractive elements without interfering with the best qualities of the model. It is crucial for modelling and texturing to cooperate, complement each other and improve the quality of the scene in general. In this project I tried the texturing not to be too strong or contrasted too much.
Rendering
Having prepared the final model, it was time to do the rendering. First, I rendered the object with environmental lighting. I used the texture prepared in Photoshop, which served as a lighting background for this piece. It was quite levelled and coloured in a way I more or less needed. (Fig_007) Next, I used Lightcap tool and I created pure ambient lighting, which was the basis of the further arrangements in Photoshop (Fig_007b). Then, I rendered next stripes, namely main lighting and side lighting which I later placed on in Photoshop. On the first object I used linear dodge(add) both in the case of the former and latter lighting. Thanks to which, I was able to decide how strong and what colour the particular lighting would be. (Fig_008) The next step was to render specular layers (Fig_009). The specular I used in this piece is very gently mixed to the rest because I didn’t want to make it too strong. I think that the mood of this piece didn’t require a too intensive specular, however, it added spice to the whole affair. While I was doing the rendering particular layers, the shade maps for particular lights were being rendered at the same time (Fig_010) which was also helpful during the composition as it allowed for precise control of light layers. The next rendered maps needed to make a composition are: Ambient Occlussion, Caviti and Mask(Fig_011) Ambient Occlusion helps to bring out the depth and the three-dimensional of the object because it darkens the depressions. Although it must be used carefully, it can be really useful because it makes the shape of the object more natural. Caviti highlights particular details and it also must be used very carefully as its role is only to highlight details and it shouldn’t be done too aggressively. The Mask, as we know, allows us to cut out the object thanks to which we can use in the composition whatever background we like.


The key is frequent testing in target environment and mood of the piece, which means composing rendering layers with lighting, shades, depth and colours in Photoshop, as well as finding the appropriate mood. Often even minor changes have a huge influence on the work as a whole. When I approach the final stages of the project, I very often look at the picture for a long time, searching for mistakes and thinking how to improve it. And then, any changes that I implement I do it very carefully because it is also very important to be able to say to yourself “stop!, that’s enough” and finish the piece.